24 October 2024
|
If you’re looking for more feedback on how you play, videoing yourself at the piano is hugely beneficial – and with today’s technology, it’s easier than ever to do. In this blog, we show you how to get started.
Making a video of your own piano playing is a revealing – and sometimes humbling – experience. A video is an invaluable aid in being able to assess your own playing and how you might improve it. Not only is it helpful to hear yourself performing a piece, but it is extremely useful to see yourself playing it too. In the same way that you might notice things you never realised you were doing aurally when you listen to an audio recording, when you watch a video, you will notice things that you never realised you were doing physically. Are your shoulders and upper body relaxed? Are you sitting at a comfortable height? Do you execute any particular passages with an excess of energy? Are you preparing your fingers for the positions they are about to occupy? Looking at a video can give you a new perspective on your playing.
There are a myriad of benefits to making a video, whether you want to produce something just for your own use, or whether you want to produce something more professional for auditions or for posting online. Plus, with recent advances in technology, it is now easier and cheaper than ever to make high-quality videos of your own playing.
Get Started:
The best way to get started is simply to be experimental. A lot depends on what your purpose is in making the video. If you are purely doing it for your own benefit, to check your performance of a piece and see how things are working, a mobile phone or a camera with a video function is probably all you will need. In fact, recent iPhones have terrific video cameras, and provided the light is good, you can get some really good results.
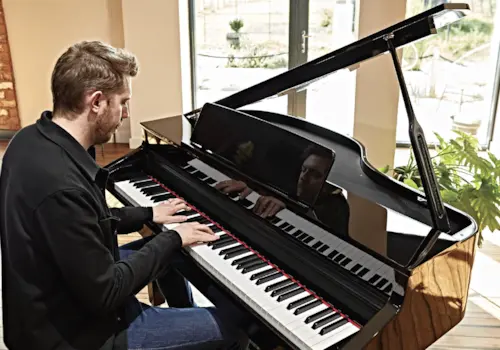
Set the mobile phone or camera a few feet from the side of the piano on a table – or propped up on some books if you need more height – so that you can see your entire body (including your feet, to check that you aren’t stamping the pedals, or doing anything weird with the una corda foot!). Look out in particular for what you do physically before, during, and after technically challenging passages; acknowledge it, and then do another performance trying to improve only a few of these things at a time. It’s a great way to be your own teacher, and means that when you go to a teacher with a piece, you will already have sorted lots of external physical factors already. A lot of piano playing is invisible and internal, but it is useful to be able to sort at least the external physical stuff yourself.
One of the most important benefits of videoing yourself as a performer is to check that you are not doing any physical movements that don’t align with the character of the music. For example, in a slow, lyrical, and melodic Chopin Nocturne, you don’t want to whip your hands off the keyboard at the end of the piece as if you have just tried to take a casserole out of the oven without a pair of oven gloves. Good technique is a lot about having the discipline to stop and look, and notice exactly what you are doing physically when a problem arises – is your hand in the optimum position for a particular passage, are you preparing a leap early enough, does your fingering make for an awkward twist, and so on.
More on kit:
Should you want to produce something more professional, whether it be for an audition or to release online (maybe even for Pianist’s very own Give Us A Tune!), you might want to invest in some more kit. This a huge topic but let me suggest some basics, and remember, unless you are trying to make cinematic history, most videos like this are viewed on a laptop or smartphone, so commercial video quality is not necessary.
If you wanted to produce something of higher quality with a shallower depth of field (meaning the background is blurry and the subject is sharply in focus) which gives the video a more artsy, cinematic look you might want to consider investing in a DSLR [Digital Single Lens Reflex] camera. The most popular brands are Canon and Nikon, which are the cameras of choice for most YouTube vloggers,
If you go for a DSLR, you’ll also need a tripod to go with it, and there are some really inexpensive ones on the market by Manfrotto. This way you achieve a great range of angles in your videos and you won’t get jerky footage that looks like you’ve had one too many cappuccinos before picking up the camera.
Sound is obviously hugely important when recording music videos. In most cases, using the microphone built into the camera will not produce such good results, and it would be worth investing in a separate microphone that you can plug into the camera. If you have a DSLR, a great microphone is the Røde Video Mic Pro, which costs around £125 and mounts on the top of the camera. Another option is to record the sound on a separate device, such as a Zoom H1, and then sync up the sound and the picture when you edit the video.
The editing part:
This leads us nicely into editing your video. For iPhone and iPad users, the iMovie app is inexpensive (£2.99!) and really good for doing basic editing, plus you can add simple transitions between shots and add titles. It is also really intuitive to use and has a useful help feature that labels what the different tools do on each editing screen. This app is particularly good if you are on the move and just want to edit short videos on the go; you can also upload them easily to YouTube. If you want something with more features to make your video more individual, there are a range of options: Apple’s Final Cut Pro X is user-friendly and fairly easy to use once you know your way around it. Other options are Adobe Premiere Pro, which you can now purchase on a monthly subscription package that includes other useful editing software such as Photoshop. A third option is Avid, which is used to edit a lot of TV shows. A lot of these applications offer 30-day trials, so it would be worth testing a few out to see which suit you the best.
Our advice on how to use these editing apps is to check out tutorials on YouTube that explain the specific things that you want to be able to do. These applications are extremely powerful and have a mass of features that you won’t need for a simple music video, so it is not necessary to learn how to use the entire program.
If you have recorded in HD, the resulting edited video can potentially be a huge file, and if you then want to upload it to a sharing site such as YouTube or Vimeo, you’ll need an application that compresses the file. Again, there are lots of apps on the market, depending on exactly what you need it to do. The app called Compressor by Apple works well with Final Cut Pro and allows you to select the platform that you’re going to upload the video on. It will adjust the size for you.
Ambience is everything:
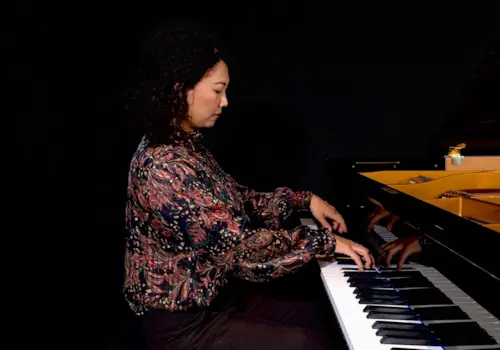
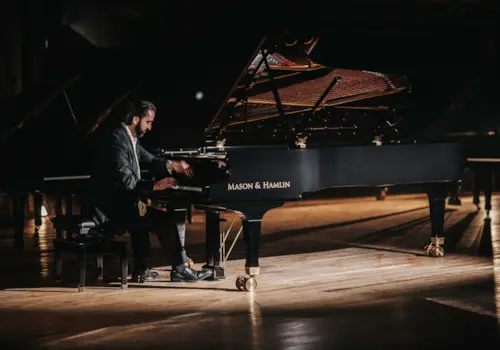
Once you have all the equipment you need for your particular requirements, there are a few practical aspects of recording a video that are worth considering. Firstly, good lighting is extremely important. You can have the fanciest, most expensive camera in the world but if you don’t get the lighting correct, it can look amateurish. Again, there are some good tutorials on YouTube about this, but in general, try to avoid positioning the main light source (whether it be from a window, or a lamp) behind the subject, otherwise, the result is a silhouette and it can look like you are trying to re-create some kind of dark art-house movie. To make your videos look more professional, try to incorporate several different angles: maybe a close-up shot of the hands, a side view, a shot through the lid of the piano, even a shot of the feet on the pedals. Avoid using zoom unless you are a pro, and in the editing process avoid gimmicky templates and fancy transitions that distract from the video content.
Finally, don’t forget that recording is a process, whether video or audio, and you can develop an interpretation through the recording process rather than trying to lay down the perfect track first time. Even in professional recordings, first takes are rarely usable, so enjoy the process of honing your interpretation during each performance.
Whatever your reasons for making a video, have fun with it!

